Upgrading the Traceable Platform
This guide covers the two methods available for upgrading the Traceable Platform.
Upgrade Methods
We have two options to upgrade the platform:
- ClusterMgr (Recommended)
- UI
ClusterMgr Method (Recommended)
This option will upgrade both the Traceable Installer (TI) and the platform in a single operation.
1. Download the Latest ClusterMgr
Download the latest clustermgr from the downloads portal:
https://downloads.traceable.ai/#platform/installer/clustermgr/linux-amd64/
2. Trigger the Upgrade
Run the below command to upgrade both TI and the Platform:
./clustermgr upgrade --ti-set cluster.triggerUpgrade=true \
  --ti-set cluster.version=${WORKFLOW_VERSION}
Parameters:
WORKFLOW_VERSION: Will be the same as clustermgr version unless you want to install a different versioncluster.triggerUpgrade: Set tofalseif you want to manually trigger the upgrade from the UI
3. Monitor the Upgrade
The upgrade process will automatically:
- Update the Traceable Installer
- Roll out platform services sequentially
- Verify service health after each rollout
UI Method
The UI method provides more granular control over the upgrade process.
Prerequisites
Before using the UI method, ensure:
- The workflow bundle for the target version is available
- Generate it locally if you have docker/podman running (see instructions)
- Or contact Traceable support team to provide the workflow file
1. Login to Traceable Operator
Navigate to the Traceable Operator URL and log in with your username and password.
2. Upload Workflow Package
This section describes how to upload the workflow bundle and upgrade the cluster state with the new version.
Steps:
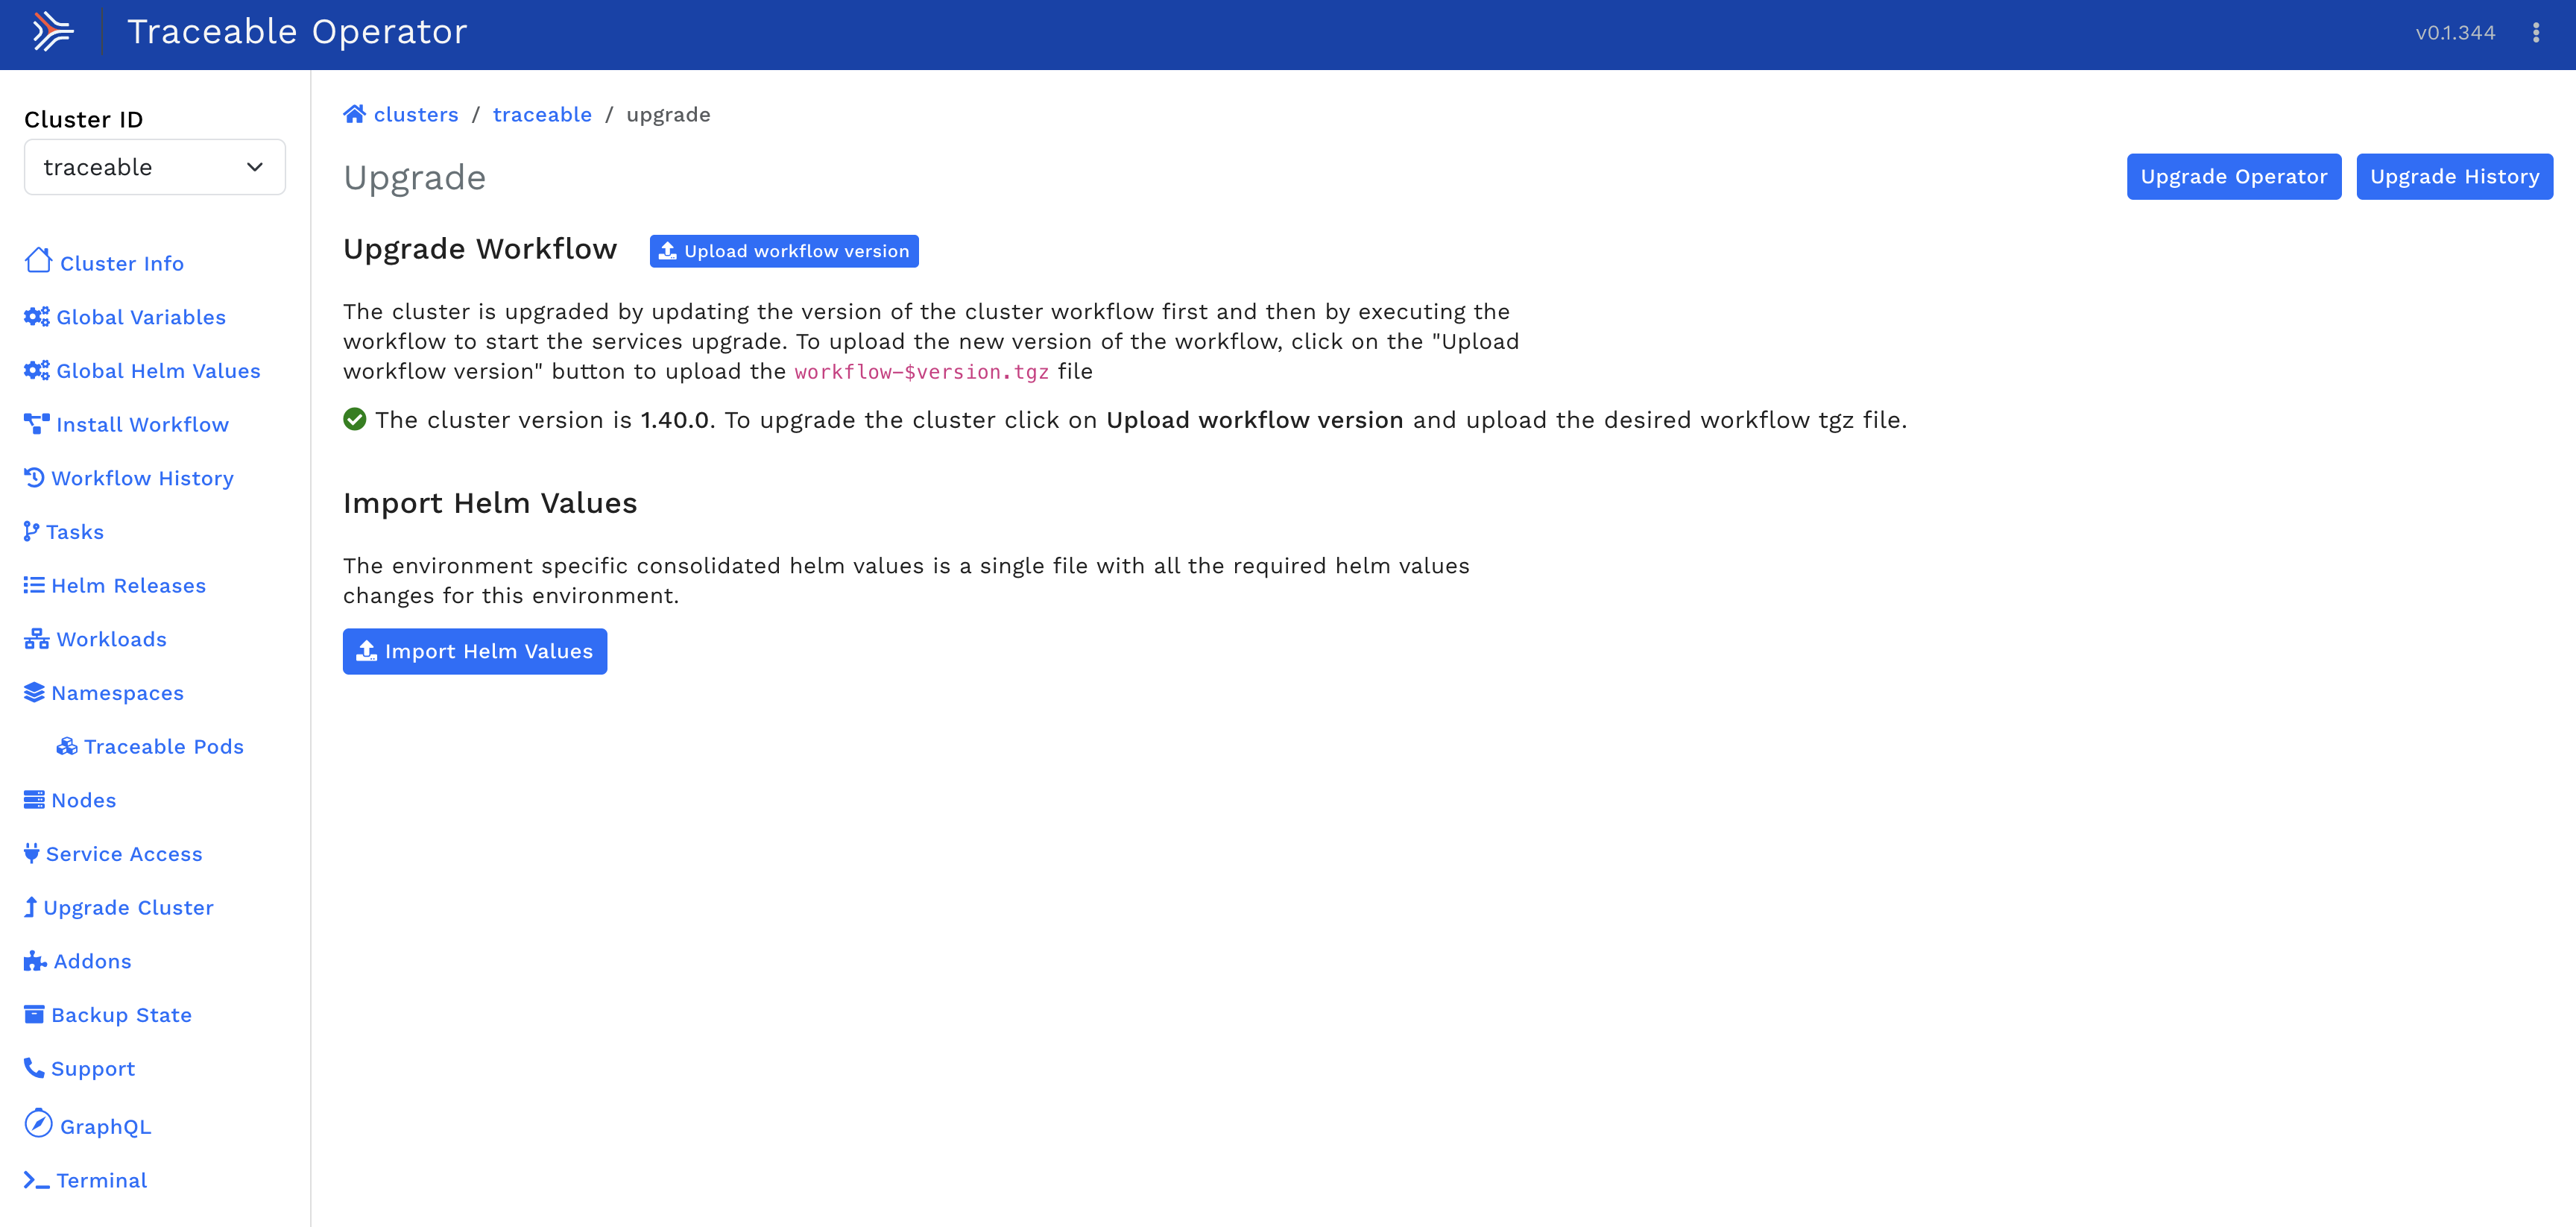
- Select Upgrade Cluster menu item from the traceable installer
- Click on Upload Cluster Version button and upload the workflow version
- Select the uploaded version in the dropdown and click Next
- Review the changes and click on Apply button
This updates the configurations within the traceable installer. The actual service rollout will be done in the next steps.
3. Global Variables
3.1 Existing Variables
The global variables list the initialization variables that were set at the time of installation.
Important: Generally, these variables shouldn't be modified as a part of the upgrade process unless instructed by Traceable.
3.2 New Variables
Depending on the current version and the new version of the Traceable platform, there could be some new variables added that should be updated.
Action Required: Please consult with Traceable for information about new variables specific to your upgrade path.
Click on the button Next: Global Helm Values to navigate to the next section.
4. Global Helm Values
Generally, no changes are needed in this section for the upgrade scenario.
Note: Please consult with the Traceable team if any values should be added to this section.
Click on the Workflow button to proceed to the Install Workflow Section.
5. Select and Review Install Workflow Services
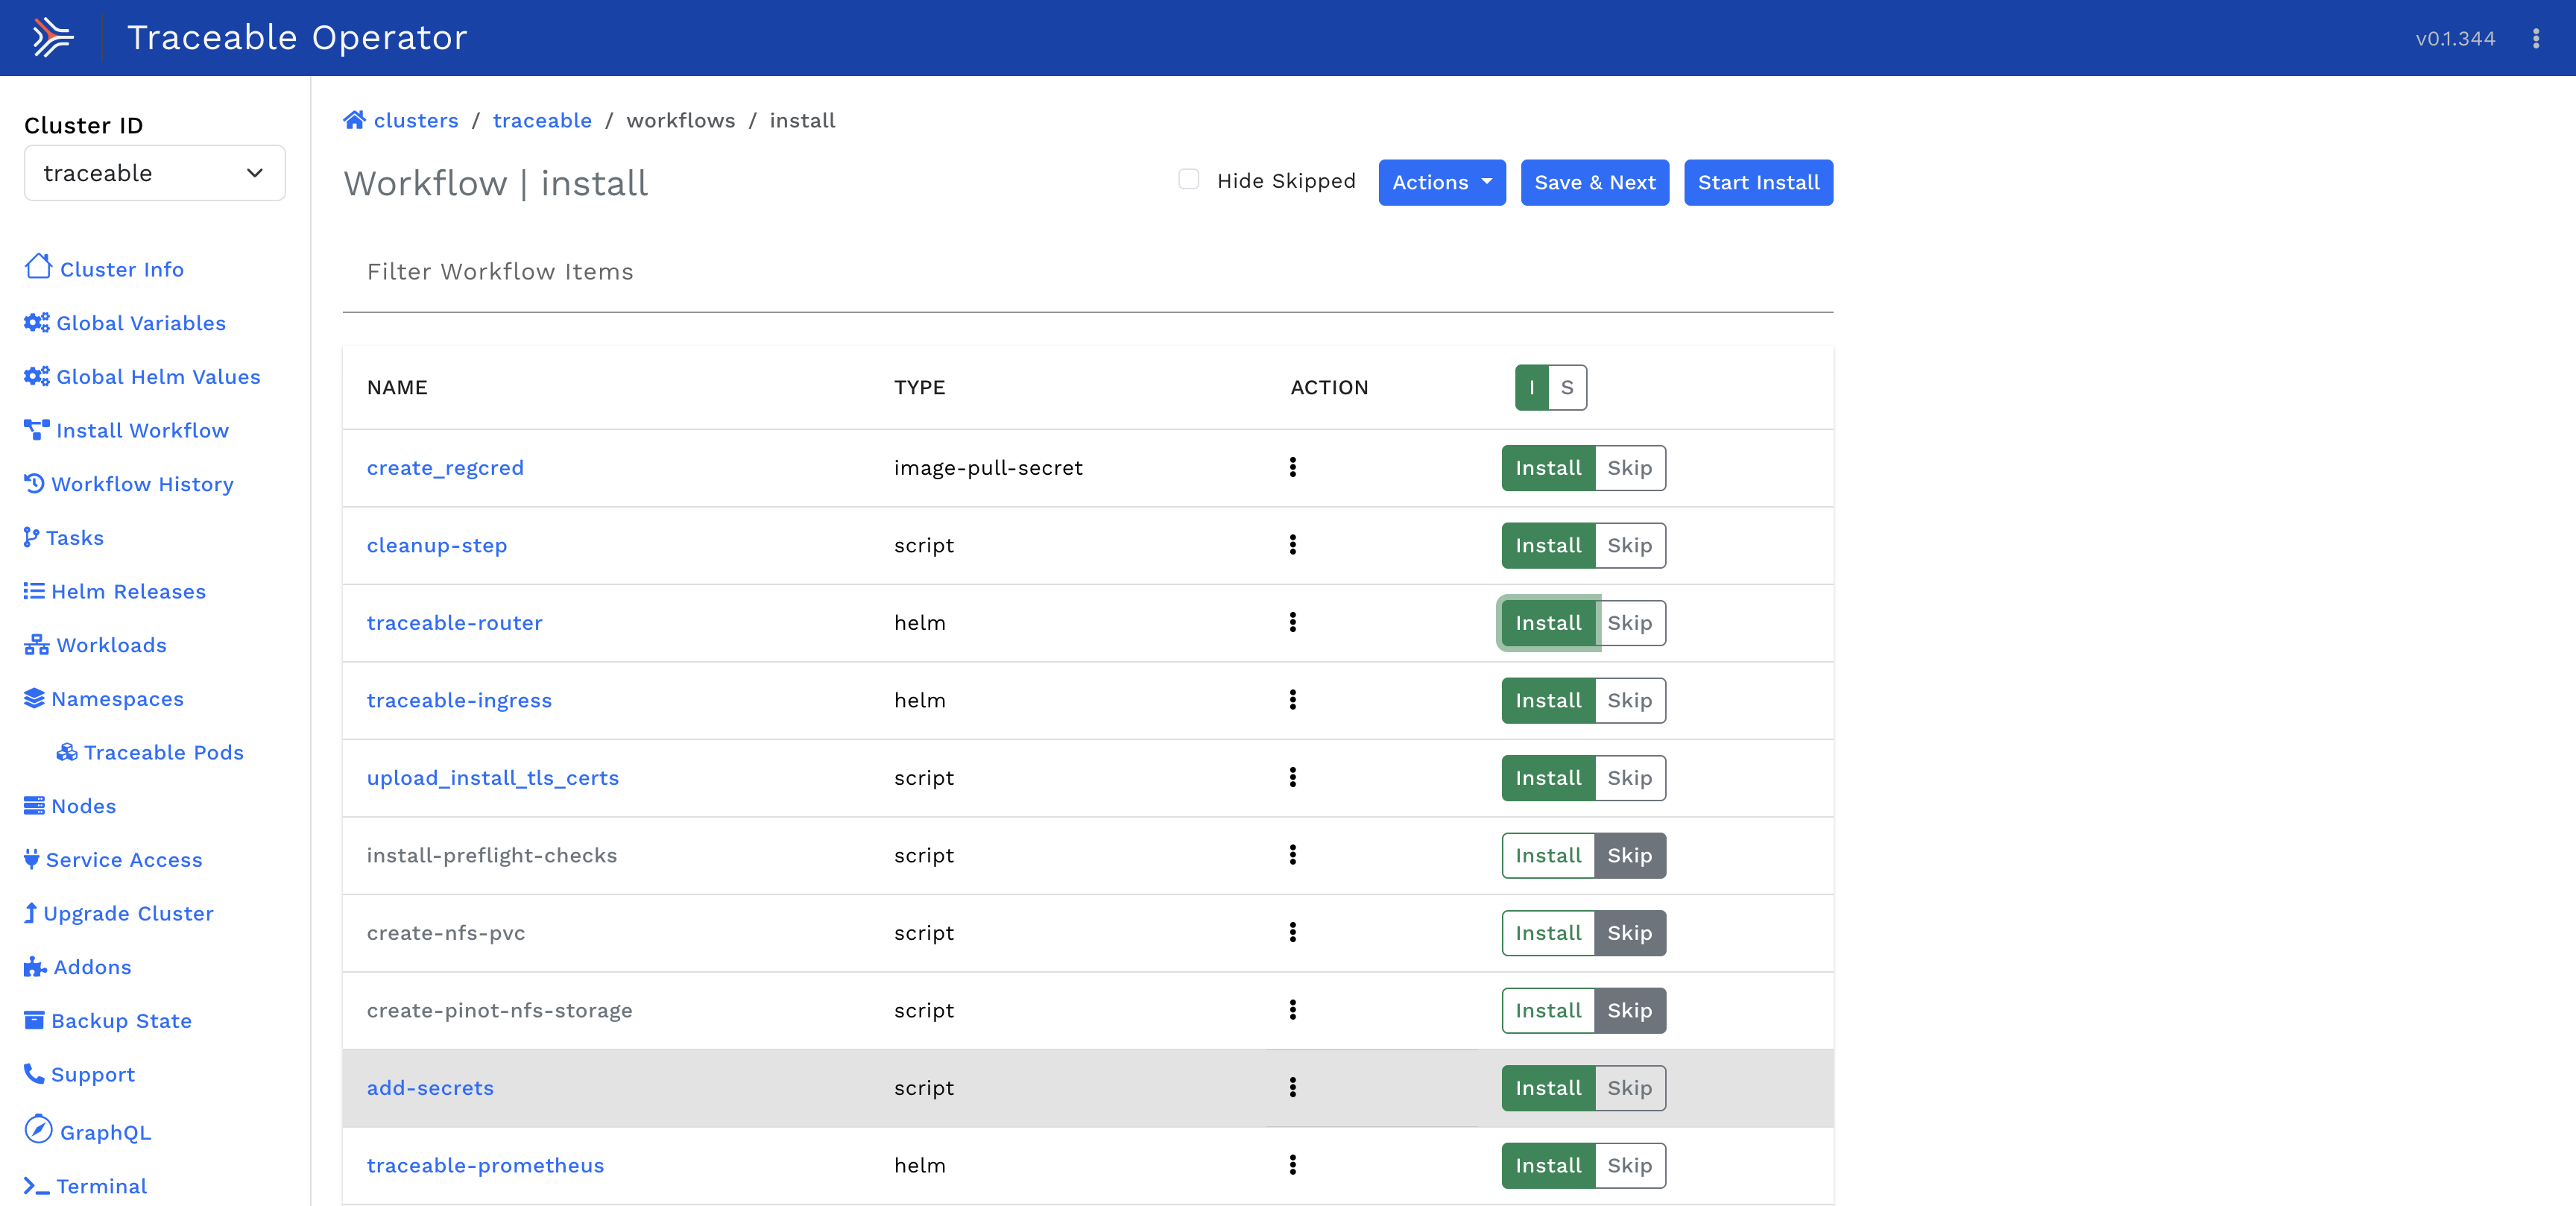
Install workflow lists the services that are a part of the Traceable Installation. The upgrade process will roll out these services sequentially until all services have been completed.
Steps:
- Depending on the current version and the new version, the Traceable team will instruct you to Skip or Install certain services
- After selecting the services to be installed, click on Save & Next
- Review Workflow params (if any) and then click on Save & Next (Review)
6. Trigger Install
Click on the Start Install button to trigger the sequential execution of the workflow.
Monitoring the Upgrade
1. Workflow Progress
Monitor the progress from the Install Workflow Page:
- Each service will be rolled out sequentially
- Any failure will cause the workflow execution to abort and require manual intervention
- Green checkmarks indicate successful completion
2. Pod Status
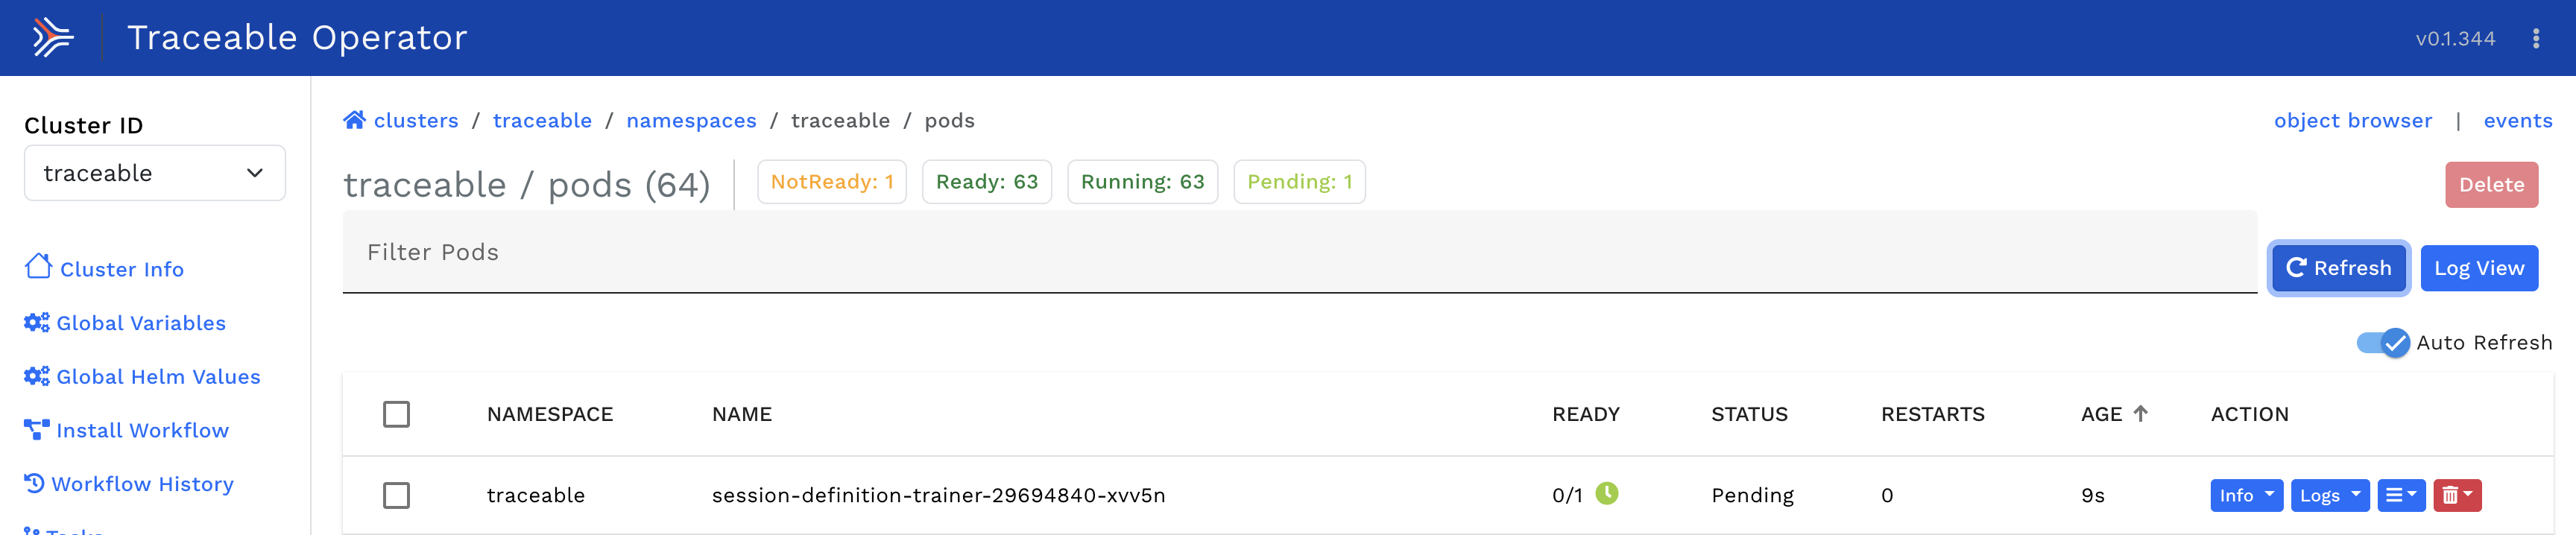
Open the Traceable Pods link in a new tab:
- Enable auto-refresh on the page
- Watch the status of pods being upgraded
- Verify pods transition to
Runningstate after upgrade
Expected Behavior:
- Pods will restart with new images
- Old pods will terminate gracefully
- New pods will start and become ready
Troubleshooting the Upgrade
1. Workflow Failures
If the workflow execution fails, check the following:
1.1 Pod Logs
1.2 Describe Pod
1.3 Kubernetes Events
1.4 Restart Workflow
In most cases, restarting the workflow will resolve the issue:
- Click on the Restart button next to the failed workflow item
2. Pod Errors
In most cases, pod errors will be automatically recovered.
Monitoring:
- Keep an eye on the workflow execution
- If errors are not recoverable, the workflow itself will fail
- Check pod logs for specific error messages
3. Cancelling the Upgrade
If you need to cancel the upgrade:
- Click on the Request Cancel button at the bottom of the page
- Wait for the current service rollout to complete
- The workflow will stop before the next service
Note: Cancelling mid-upgrade may leave the system in a partially upgraded state. Consider rollback procedures if needed.
Post-Upgrade Verification
After the upgrade completes:
- Verify all pods are running:
- Check service versions:
kubectl get pods -n <traceable-namespace> -o jsonpath='{range .items[*]}{.metadata.name}{"\t"}{.spec.containers[0].image}{"\n"}{end}'
-
Login to UI and verify:
- Spans are flowing
- Dashboards are accessible
- No error messages
-
Check platform version:
- Navigate to Settings or About page in UI
- Verify version matches the target version
Next Steps
- If upgrade is successful, document the new version
- If issues occur, refer to Rollback Procedures
- Update monitoring and alerting for the new version
Support
For upgrade assistance or issues, contact: support@harness.io